Demo and Reno
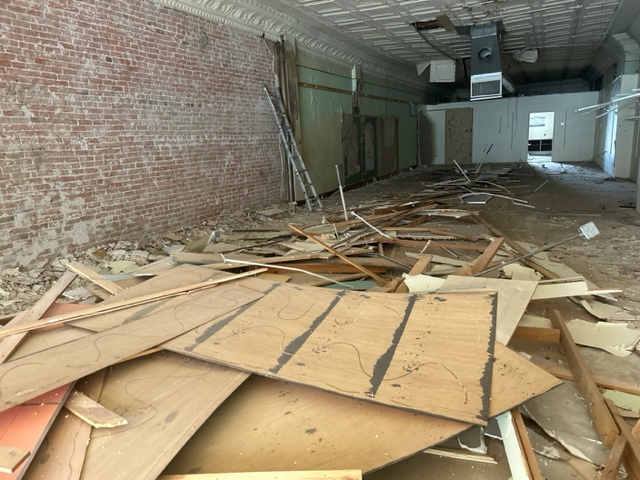
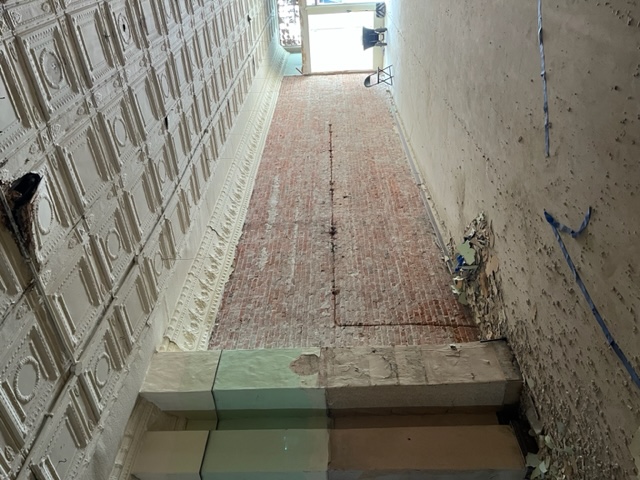
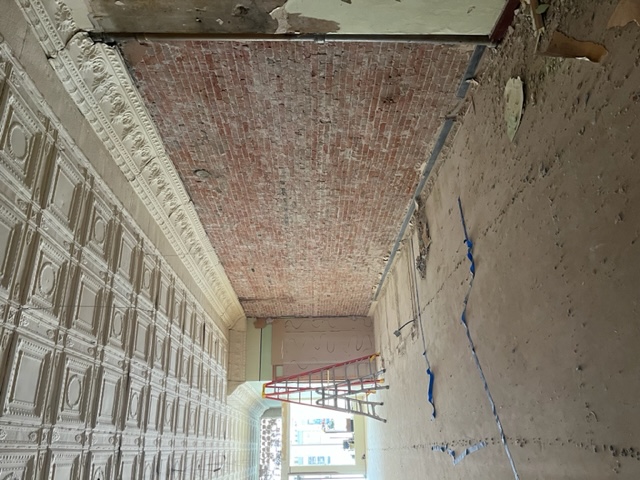
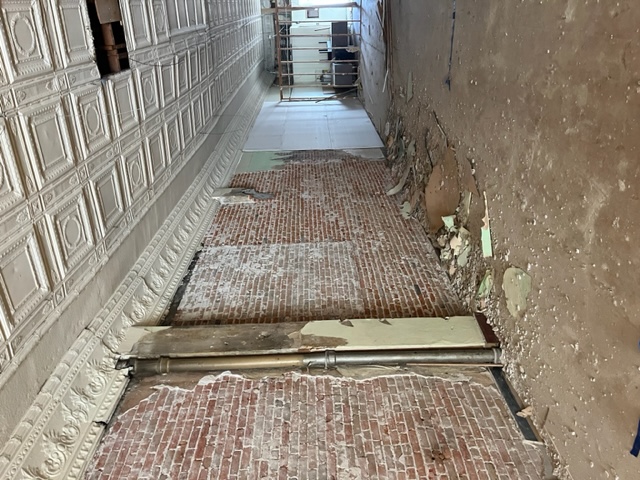
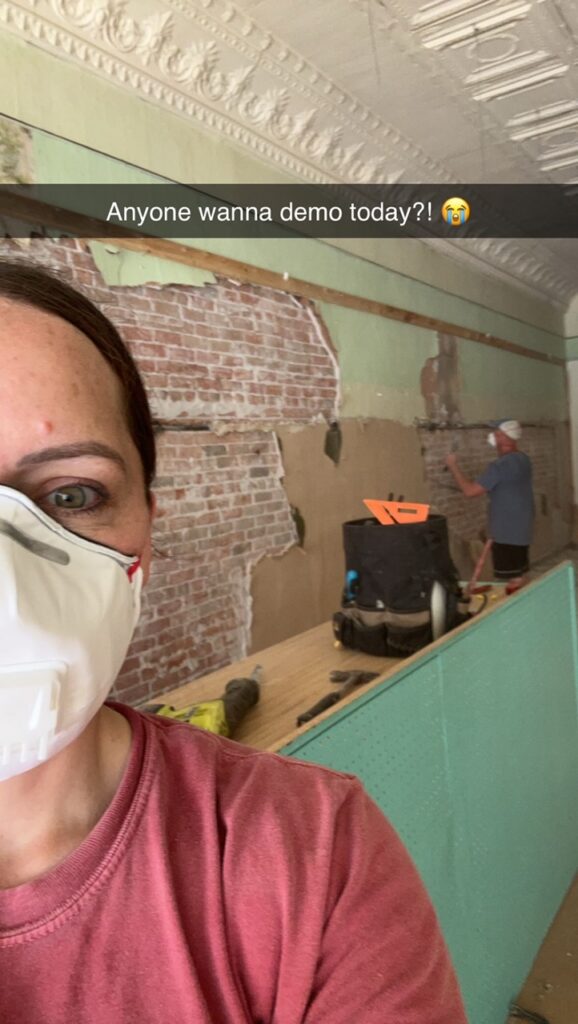
We worked hard throughout the summer on demo. We had a lot to do, starting with chiseling the plaster away to reveal the brick walls. I’ve helped my husband with a lot of things over the years including flooring, pouring cement, etc., I’m also an emergency room nurse practitioner…but taking down plaster walls was some of the hardest work I’ve ever had to do. Look how beautiful they are underneath!
We exposed as much brick as we could, but toward the back of the building it was so old, fragile, and soft, that it was just wilting away as we touched it. We decided to stop there and dry wall over it.
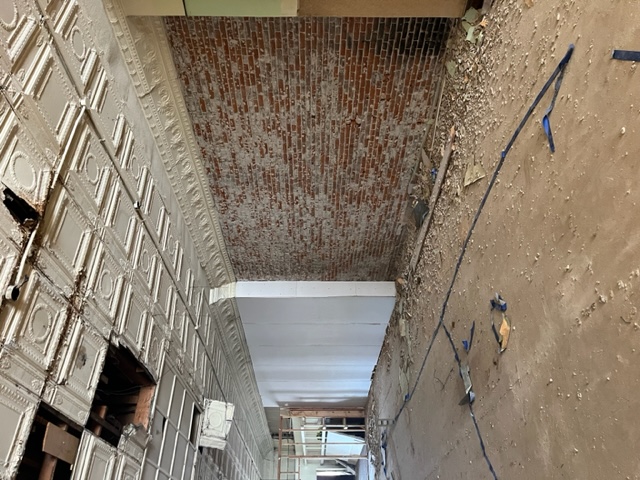
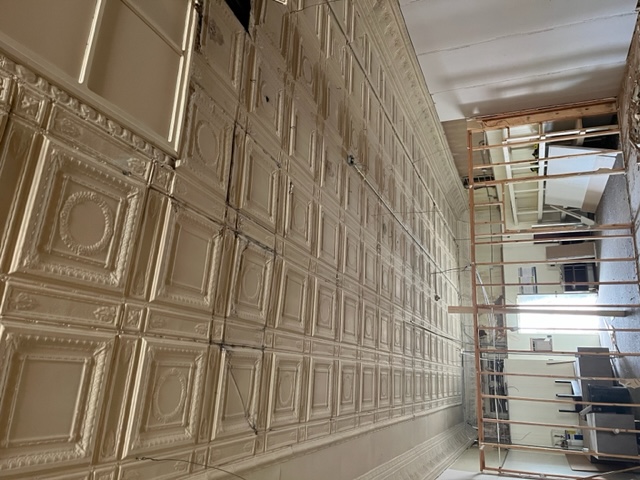
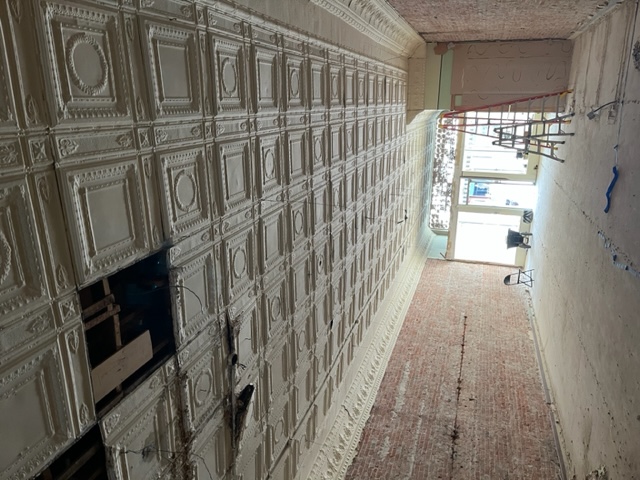
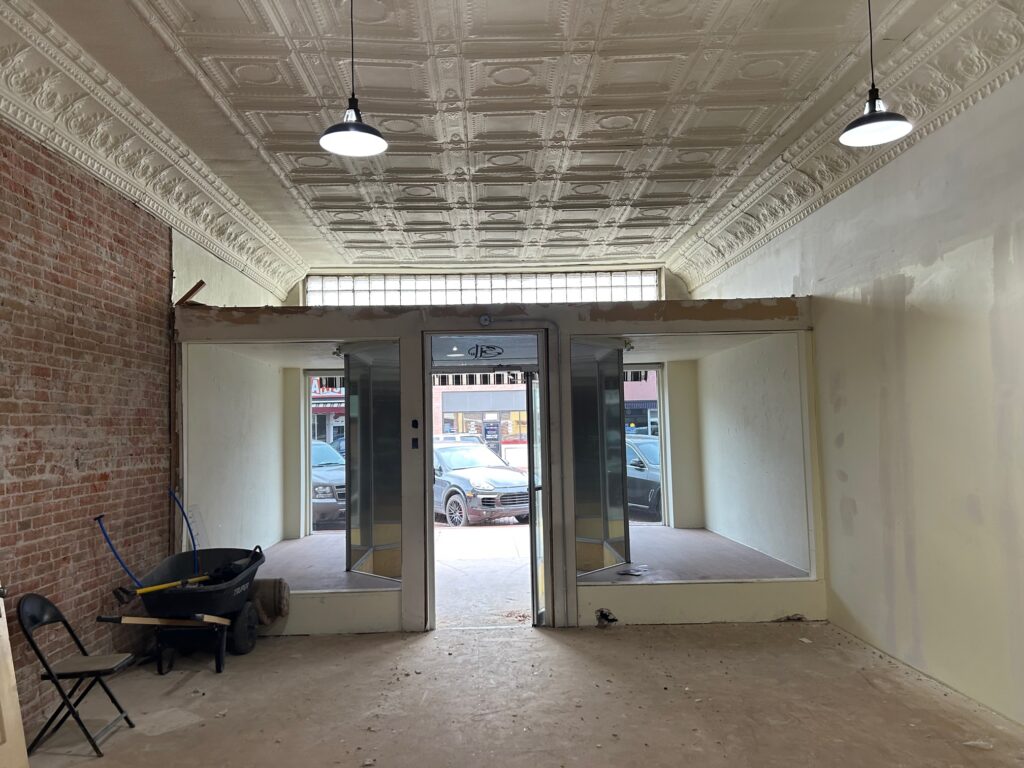
We took down the drop-ceilings to expose the original tin tile, which is absolutely beautiful. I had to ask why would anyone cover this? Probably a phase in interior decorating, but damn.
We took out the HVAC unit that was hanging down from the ceiling, with a plan to create an HVAC room and run ducts throughout the building, fully exposed, for the industrial look.
Sadly, there are gorgeous wood floors under the subfloor that currently exists, and I wanted so badly to expose them and save them. Yet, it was not meant to be. With past construction, asbestos glue was used, so to bring that up and expose the flooring, we would have had to pay for abatement. That could have meant possibly tens of thousands added to reno budget (no thanks!). We would have to keep the existing subfloor and add laminate.
Ultimately, we dumped three roll-off dumpsters full by the time demo was finished. (That’s a LOT!) With also working our primary jobs and taking kids to baseball, I think this process took around 1-1 1/2 months.
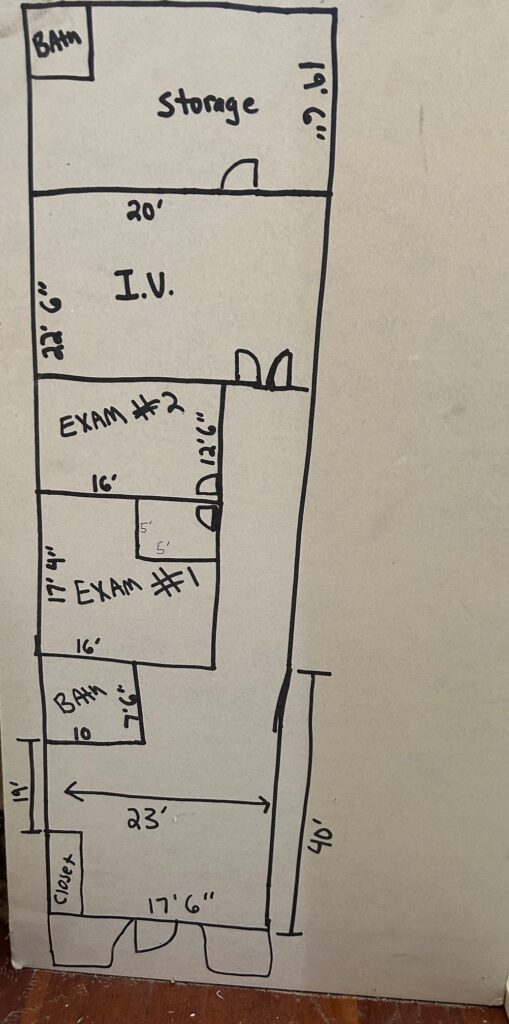
Then, we started putting down tape on the floor to map what we wanted the future layout to be. My husband started framing all of the rooms, and then dry wall. I’m lucky he’s so skilled, it saved me a lot of cheddar with this renovation!
We wanted to save as much of the original ceiling tile as we could, so we took some pieces from the back of the building (which would now be the utility room) and transplanted them up front to the areas that could not be salvaged. Then, he touched-up as much of the minor imperfections as he could and put a fresh coat of paint on.
Then, the electricians started working on lighting and electricity. They took out all of the old wiring, it was nowhere near usable or meeting code, but were able to reuse some of the old conduit. A new breaker panel was installed and the city had to come and hook up the electricity. We hung some lights that go with the industrial theme.
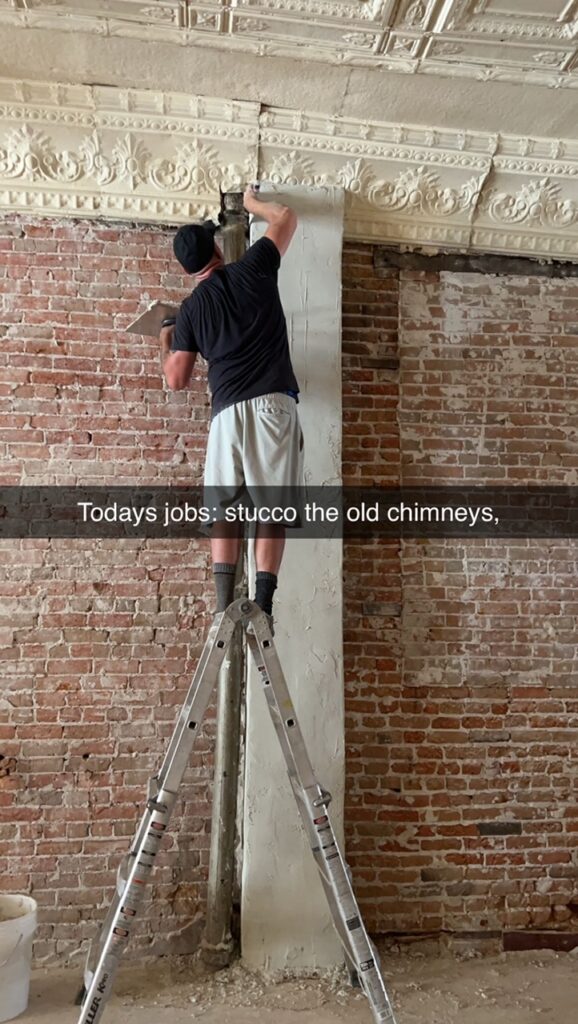
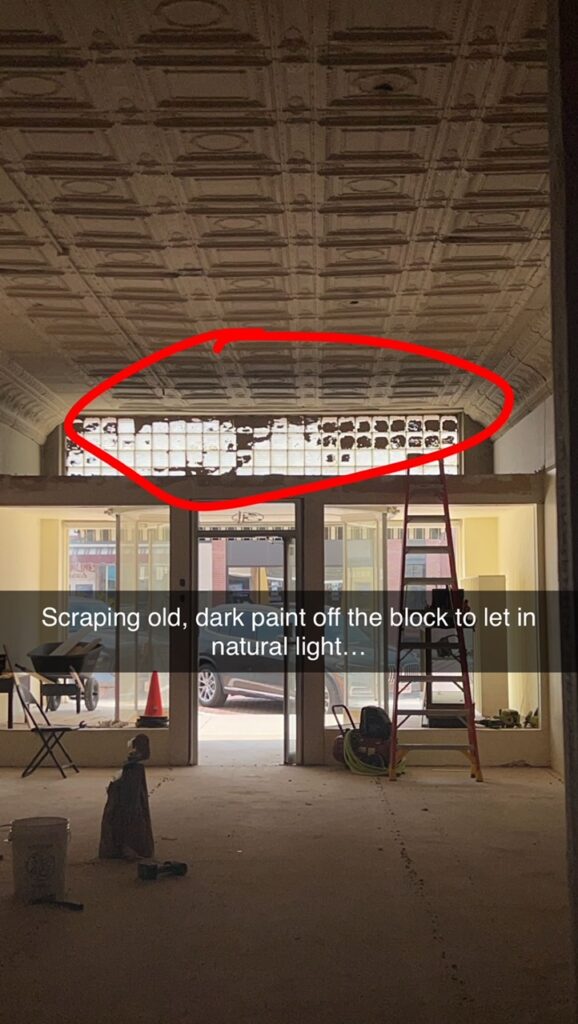
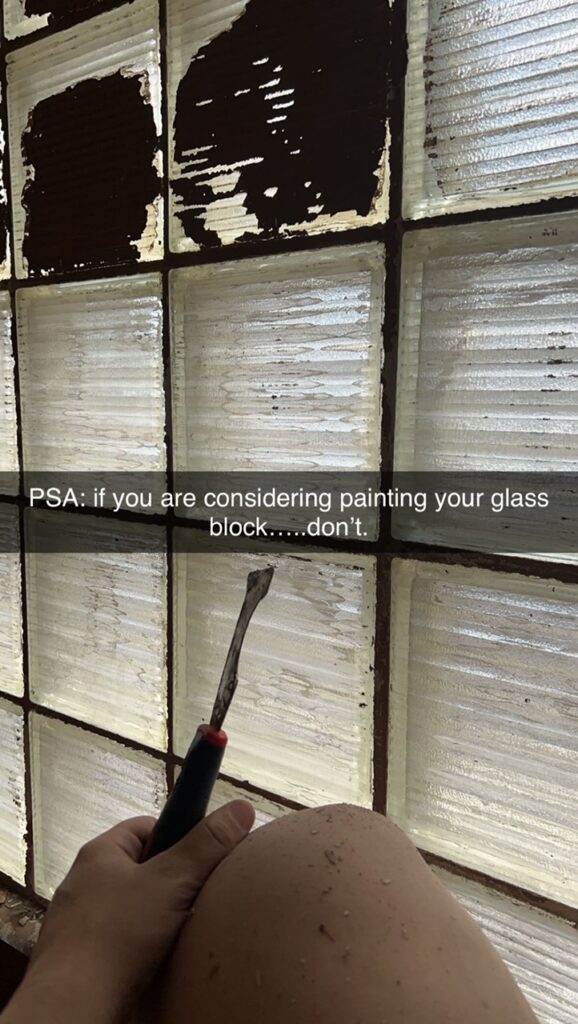
We stucco’d over old chimneys that were along both walls, and used stucco to fill in and cover imperfections in the brick. I also worked on taking down dark brown paint they used to cover the glass block window in the front of the building. I’m assuming they did this because the early evening sun is unrelenting and bright, but also lets in some beautiful light! PSA: if you ever think of painting over glass brick, just don’t.
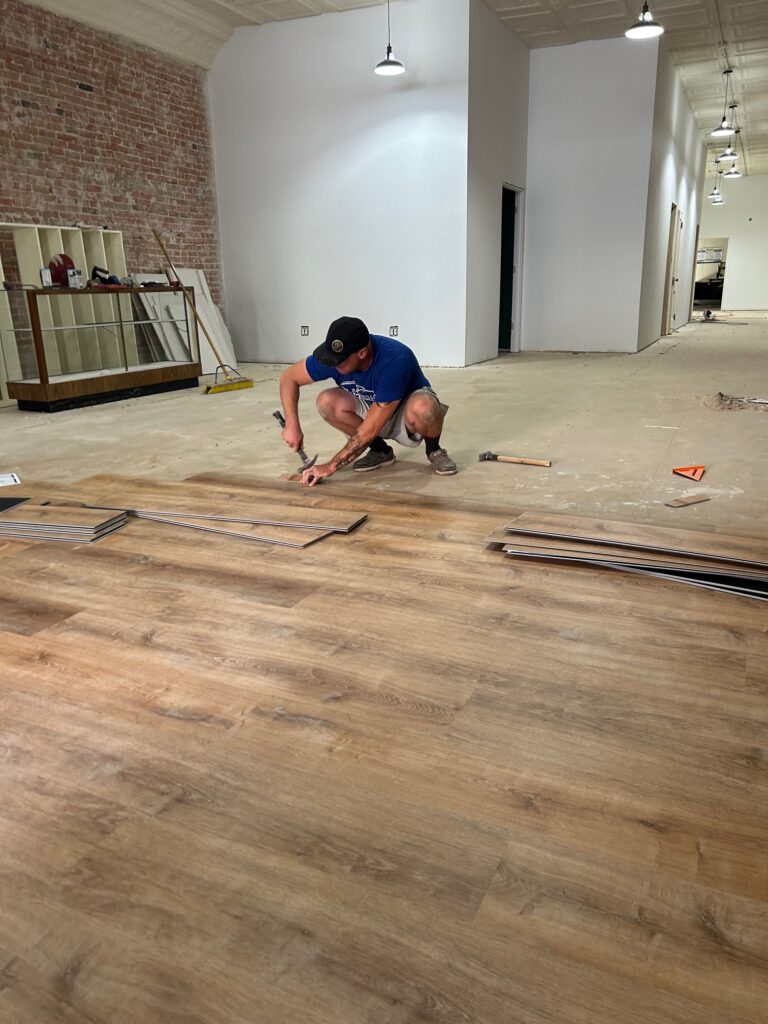
We purchased about 100 boxes (2 palates) of flooring for the building. My husband and I laid flooring together. I even got to use the saw, which as a girly, made me feel powerful and helpful. 🙂 With the rooms put up, flooring down, and lighting in…it started to actually look like a usable building. It was coming together and it was so exciting!
Starting to think about details such as paint, ADA sinks and toilets, vanities, etc. came next. I came across a cool site that had beautiful peel and stick wallpaper, so I couldn’t resist ordering some for an accent wall in each room. My husband insisted the brick was our accent wall (he REALLY didn’t want to do wallpaper), but as usual, I won out in the end! 🙂 Check out the website at wallblush.com.
Stay tuned, in my next blog I will start to show you pictures of the finished product!


October 21, 2023
Be the first to comment